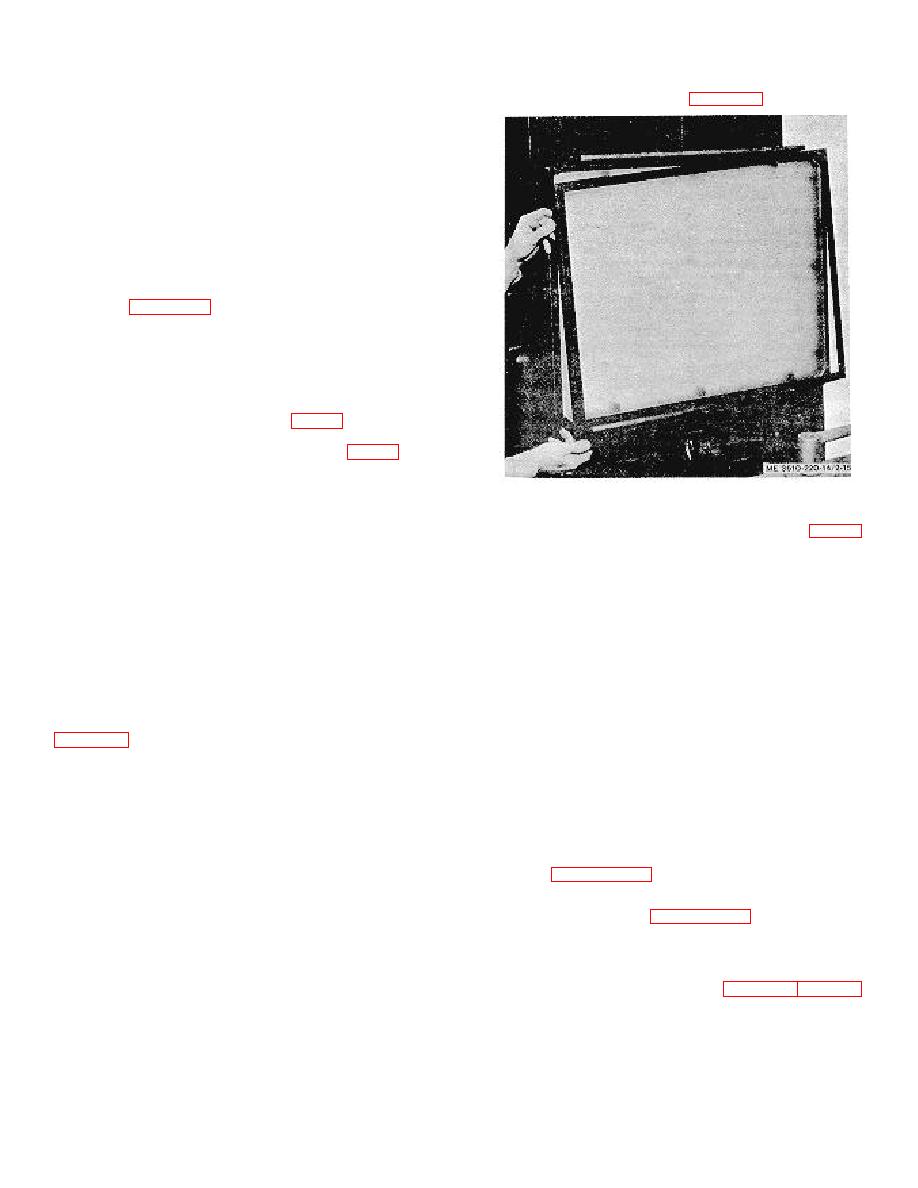
(c) Remove cover frame
from
the
filter and then using a yellow flash exposure to complete the
transparency holder, as shown in figure 2-15.
dot formation and provide the desired contrast. Detailed
instructions covering evaluation of copy and determination of
exposure times are provided with the contact screen by
the manufacturer. The camera operations for preparing a
contact screen negative will be as follows:
(1) Attach the magenta contact screen centrally
on the porous plate of the vacuum back, screen side facing
the back, by applying vacuum to hold the screen flat. Secure
it to the back with a long strip of pressure-sensitive tape along
the top edge, to serve as a hinge.
(2) Focus the camera normally as for line
exposures (para. 2-36). (No compensations to counter
readings are necessary for the screen insertion into the optical
system as were required for the glass screen.)
(3) Refer to the exposure guide furnished with the
contact screen for the "main" and "flash" exposure times
required for the copy.
(4) Leave valve handle (13, fig. 1-4) open to cover
full area of contact screen, regardless of film size to be
exposed, and turn on vacuum through switch (6, fig. 2-9).
(5) Lift contact screen away from vacuum back by
Figure 2-15. Removing cover frame from
lower edge, and with the other hand, place the film centrally in
transparency holder.
position. Then carefully lower the contact screen, from its
tape hinge downward, until it is drawn firmly against the
vacuum back to seal the film within its margins. Examine the
to permit vacuum suction to the transparency holder.
screen under safe-light to make certain that no air pockets
(blisters) remain. If some exist, they will usually disappear
(e) Set the copyboard vacuum operating
within a half minute. If a wrinkle persists, raise the screen
knob (7) for smallest size copy.
and lower again so that it can be drawn out. Do not touch the
(f) Turn on the copyboard vacuum control
screen area of the contact screen with the fingers, and avoid
switch (11).
attaching tape to the film or leaving pieces of tape on the
vacuum back in the screen area as they may permanently
(2)
Film placement.
damage the screen.
(a) Place film in approximate center
of
(6) Follow exposure and flash instructions
transparency holder. If film is smaller than glass area
of
provided with the screen, controlling the arc lamps and shutter
transparency holder so that the suction does not hold
it,
in accordance with instructions provided for line exposures
secure it to the glass with a tab of pressure-sensitive tape
on
its top central margin.
(7) Upon completion of exposures, shut off the
(b) Replace cover frame on the holder.
vacuum, and immediately raise the contact screen with one
Press the plastic sheet of the cover frame to be certain that
hand and remove the film with the other. The film is now
film is flush with diffuser glass until the suction takes hold to
ready for development. Remove the pressure-sensitive tape
flatten the clear plastic sheeting against the film and diffuser
from the screen before returning it to the storage container.
glass.
(3) Lensboard settings.
Set the lensboard as
2-38.
Reproducing
From
Negative
or
Positive
detailed in paragraph 2-36.d.
Transparencies
(4) Vacuum back settings. Set the vacuum back
a. Flat film.
according to instructions in paragraph 2-36. g.
(1)
Transparency holder setting.
(5) Lens diaphragm settings and exposures. The
(a) Rotate the transparency holder into the
exposure of transparencies to obtain line, continuous-tone, or
vertical position facing the lensboard.
halftone negatives (or positives) will follow identical procedure
to that used for non-transparent copy (para. 2-36 and 2-37)
(b) Insert plug into socket of light box
except that
assembly, and turn on the transparency holder light switch.
2-16


