
TM 11-6720-248-12
out of the camera to expose the yellow tab.
(2) Grasp the protruding yellow tab (fig. 3-8)
and pull the film, with a straight, continuous motion, out
of the camera.
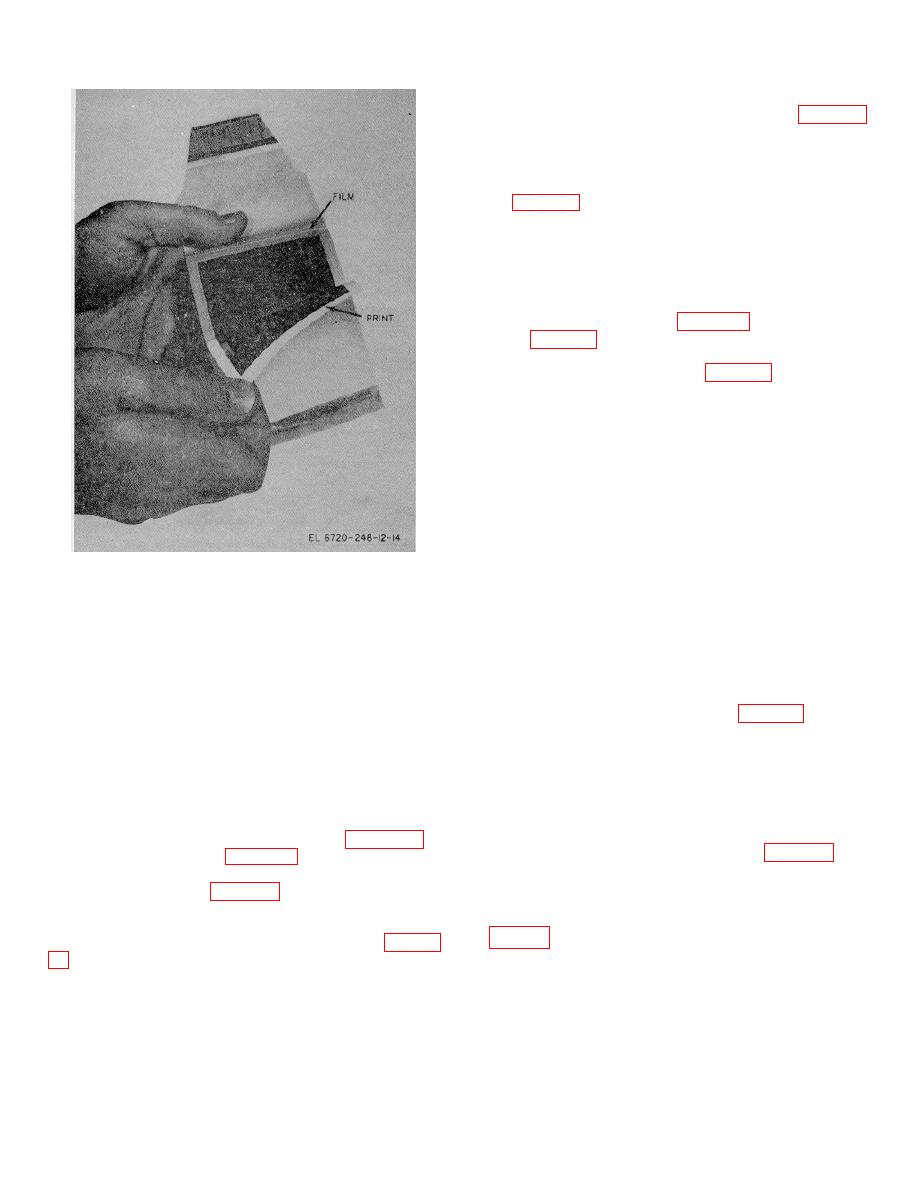
(3) After a period of 60 seconds, grasp the
corner of the print and carefully remove the print from the
film (fig. 3-9). Handle the print only by its edges.
(4) Allow the print coating to dry.
(5) Trim the pictures to the required size.
3-8. Stopping Procedure
a. Temporary Shutdown. If the camera set was
connected for ac operation (para 3-4), place the power
switch (fig. 3-4) of each strobe assembly, to C (Model
600) or OFF(Model 700). If the camera set was
connected for battery operation (para 3-5, , proceed as
follows:
(1) Connect a power cord to each of the
strobe assemblies and to the 115-volt ac, 50to 60-Hz
power source.
(2) Place the power switch of each strobe
assembly at C (Model 600) or OFF(Model 700)
(3) With the strobe assemblies connected to
the ac power source and the power switches in the C
position (Model 600) or OFF(Model 700) ac power will be
supplied to the battery-charging circuit of each strobe
Figure 3-9. Removing print.
assembly. Under normal conditions, the battery-charging
circuit will recharge the batteries during a 16hour period.
b. Sixteen-Hour or Longer Shutdown.
If the
entire print surface with firm, overlapping strokes.
camera set will not be used again the following day, or
(6) Allow the print coating to dry.
later, perform the procedure in a above; then, proceed as
(7) Trim the four pictures to the required size.
follows:
(1) Disconnect the power cord from the
3-7. Operation Using Color Film
strobe assemblies and the 115-volt ac, 50to 60Hz power
source.
(2) Remove the titleboard (fig. 1-3) from the
NOTE
titleboard holder assembly by pushing the button on the
Do not attach the neutral density filter
titleboard holder.
on the camera lens assembly and do
(3) Rotate the horizontal positioning bar
not cover the strobe assembly lens
counterclockwise and withdraw it from the front socket of
with the mask. The twist lock filters
the camera housing.
must remain on both strobe
(4) Loosen the thumbscrew and remove the
assemblies.
stereoscopic attachment from the camera housing.
a. Attach the stereoscopic attachment (para 3-6b).
(5) Disconnect the shutter cord (fig. 1-2) from
b. Load the camera (para 3-6d, e, and f).
the lens and shutter assembly.
c. Adjust the shutter and diaphragm and
(6) Disconnect the flash cords from the strobe
photograph the subject (para 3-6g and h).
assemblies.
d. After two pairs of photographs have been made
(7) Remove the strobe and clamp assemblies
on the same frame of film, process the print as follows:
(1) Grasp the protruding white film tab (fig. 3-
3-6
