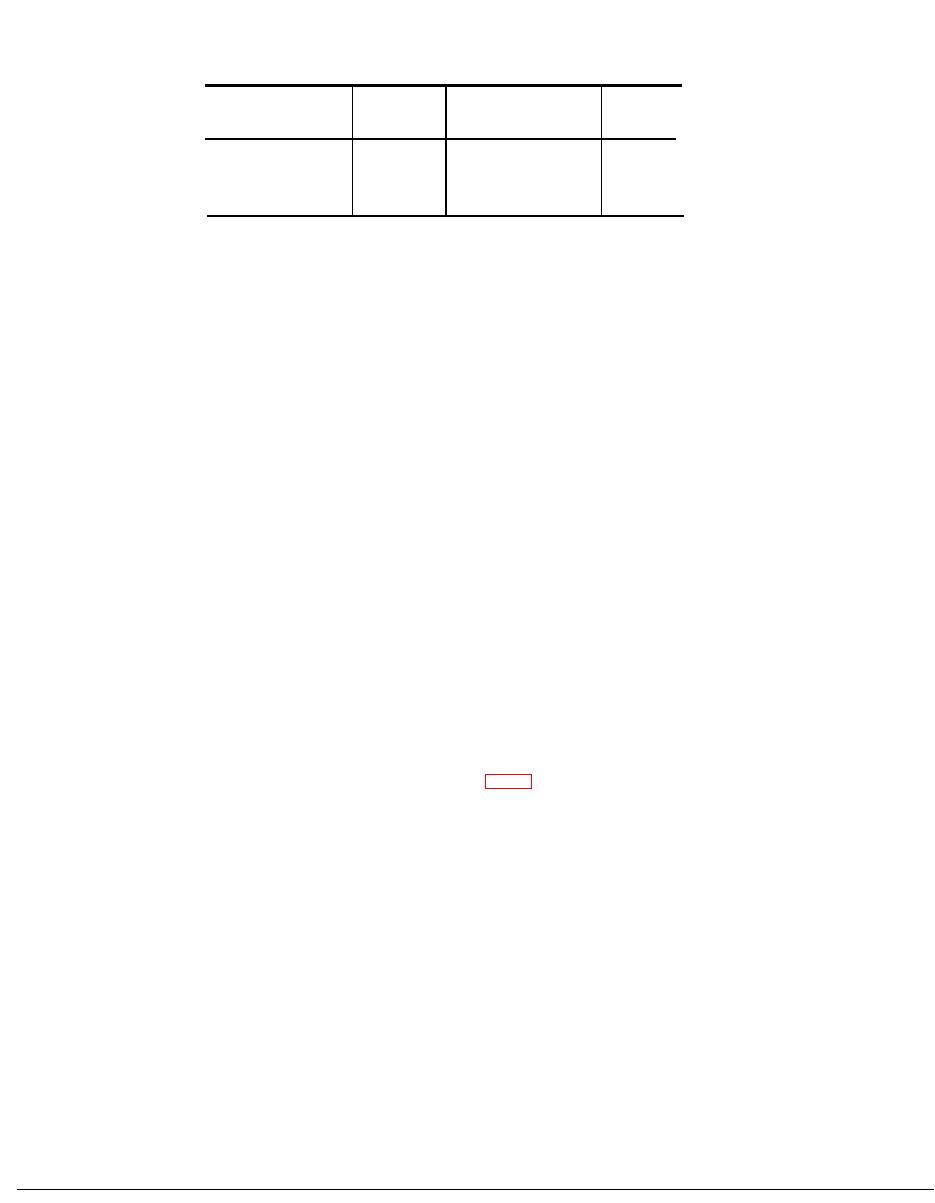
Size of screen
Size of screen
Distance from screen
Distance from screen
image for 10-by
image for 10-by
(ft)
10-inch aperture
10-inch aperture
(ft)
( in.)
(in.)
80 x 80
32 x 32
l0------------------
4----------------------
96 x 96
48 x 48
12-----------------------------
6---------------------
102 x 102
64 x 64
14-------------------------------
8--------------------
b. Open the carrying case, and remove the projector housing from
the bottom compartment. Set the housing on the support (a above)
so that the slanted top edge is away from the projection screen.
c. Loosen the head-support post clamping knob, and insert the
support post in the hole on top of the housing, with the notched end
down and with the rack on the other end of the post pointing towards
the rear. Slide the post down until the notch fits over the locating pin
mounted on a plug at the bottom of the housing. On the PH-(637/
PFP, the plug is visible when the door in the left-hand side of the
housing is opened. On the PH-637A/PFP the plug is visible when
the rear door is open. If the post has been inserted properly, it can-
not be rotated about its axis. Tighten the support-post clamping
knob.
d. Remove the projection head assembly from its compartment in
the carrying case. Hold it carefully, with the head upright, and slide
the tube at the end of the support arm over the head support post (rack
and pinion to the rear) until the pinion in the tube engages the rack on
the post. Then turn the focusing knob counterclockwise until the head
assembly has moved down 1 or 2 inches.
Caution: The head assembly and the support post have been
factory-adjusted so that the projectoin lens is centered with reference
to the optical system. Do not push the head to the side, because the
adjustment may be disturbed.
e. Open the rear door of the housing by loosening the captive screw
that holds the door closed. Then raise the latch that holds the lamp
house door in place, and lower the door. The lamp socket now may be
reached. Remove the projection lamp from its container. Set the
base of the lamp in the socket so that the wide ear on the base fits into
the wide slot in the socket. Press gently downward on the lamp until
both ears are below the rim of the socket. Then turn the lamp 90
clockwise so that it is locked in place (fig. 7). Place the lamp cap,
attached to the top of the lamp house by a beaded chain, over the
lamp so that the cutout in the cap faces the condenser lens in the rear
of the housing. Swing the lamp house door up, and lower the latch so
that the door is locked in the closed position. Close the rear door of
the housing, and tighten the captive screw to hold the door shut.
14
TAGO 4738B


