TM 10-3610-202-14
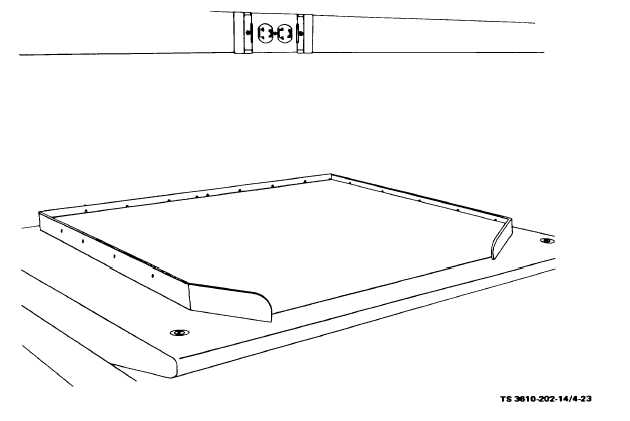
Figure 4-23. Rub-Up Board Assembly
4-37. Rub-Up Board.
a.
Inspection
(1)
Inspect board assembly for burrs, sharp
edges and signs of rust or excessive dirt.
(2)
Inspect for dents or cracks.
(3)
Inspect rubber pad for condition and
security.
(4)
Replace damaged board assembly as
necessary.
b.
Removal. Open latch on storage container and
remove rub-up board assembly.
NOTE
Rub-up board is located on left-
most side of storage
compartment.
c.
Installation. Carefully lower rub-up board into
left-most side of storage compartment and secure latch.
d.
Repair. If rub-up board is to be repaired, the
procedures are as follows:
(1)
Open latch on storage container and
remove rub-up board assembly.
(2)
Remove dents by utilizing a suitable
hammer.
(3)
Remove all burrs from finish and smooth
all sharp edges.
(4)
Remove damaged rubber surface from
rubup board.
(5)
Using an approved solvent, remove any
remaining adhesive from surface of rub-up board.
(6)
Apply a coat of adhesive (Item 1, App. D)
to the back of the replacement rubber surface and
carefully place into position on rub-up board.
NOTE
Allow the cementing compound
sufficient
time
to
dry
before
cleaning
the
rub-up
board
assembly.
(7)
Thoroughly clean all surfaces.
(8)
Carefully lower rub-up board into left-most
side of storage compartment and secure latch.
4-43