missing screws and nuts. See that bellows are properly
supported by the tube support assembly, and that
internal reinforcement frames to which they are attached
are not bent or separated.
(5) Transparency holder assembly. Check
the transparency holder housing for dents and bends
affecting the inner components. See that the diffuser
glasses are properly seated in grooves. Check glasses
closely for scratches or other flaws within their work area
that will necessitate replacement. Examine the light box
assembly for broken ballasts and wire connections. See
that the light box slides smoothly into transparency
holder housing. Check the bolts and nuts, securing the
housing to the flange to assure that they are tight.
(6) Camera back assembly. Inspect the
camera back housing and its interconnecting members
for light-tight connections.
(7) Arc lamp assembly.
Examine the
reflectors and reflector doors of the arc lamps for bends
and tears. Check the carbon holders for missing or
damaged parts. Inspect the arm bracket castings
supporting the arc lamps for cracks and splits. Check
the wire connections of the transducer assembly located
in the arc lamp.
(8) Flash lamp assembly. Inspect the lamp
for broken outer glass. Check for burned-out bulb, Move
the flash lamp in a horizontal position to check operation
to lens. Check for loose wire connections and broken
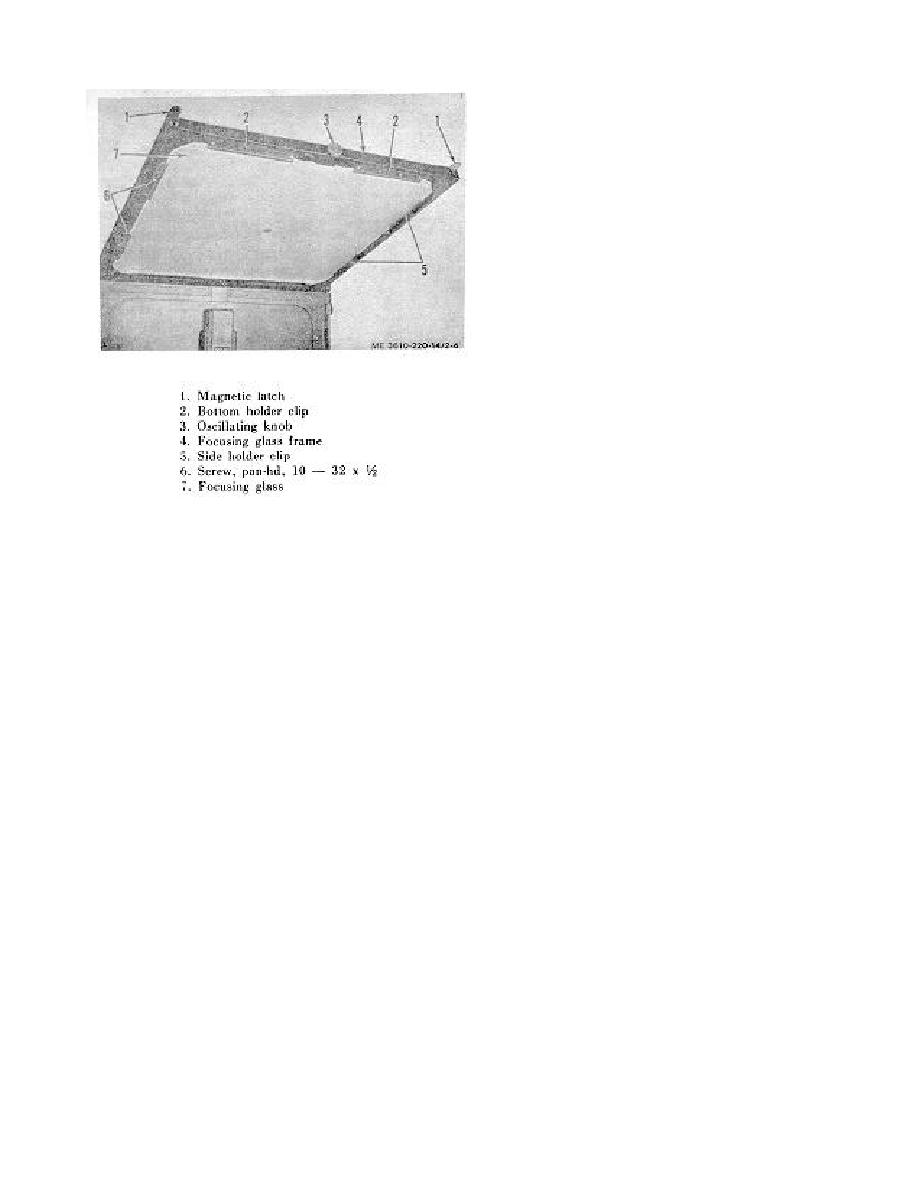
Figure 2-4. Focusing glass details.
wire plug and receptacle.
(9) Truss support assembly.
Check the
f. Inspection.
truss supports for breaks in casting. See that the truss
(1) General. Make a complete inspection of
supports are securely bolted to the skid platform and the
the copying camera, identifying the equipment and
support channel. Examine the cross members between
visually checking for loss and damage which may have
the truss supports for tight fit.
occurred in shipment.
(10) Copyboard
and
lensboard
drive
(2) Lensboard assembly.
Check the
mechanism. Check carefully for burred or damaged
lensboard carriage assembly for loosened bolts. Rock
threads on the drivescrews. Inspect the drive gears for
carriage assembly on rail to determine if carriage shoes
nicks and impacted dirt between the teeth. Examine the
and gibs have loosened from snug fit with the rail.
handwheels, gear guards, drive motors, and counters for
Inspect the inner lensboard frame and the shutter for
looseness, breaks, and other damage.
damage affecting their operation.
(11) Vacuum system. Check the flexible hose
(3) Copyboard assembly. Make a complete
to the vacuum back and copyboard for tears and
inspection of the copyboard for damages. Check the
improper connections. Examine the turbo-compressors
copyboard front and rear plates for warping. Inspect for
for dents in the housing or blockage of the mufflers that
missing or loosened screws. See that operating dial
might affect their function.
Check the vacuum
knob functions properly. Inspect the copyboard carriage
backhousing and the valve handle on the vacuum back
assembly for loosened bolts. Rock carriage assembly
for damage. Move the valve handle to several positions
on rail to determine if carriage shoes and gibs have
to see that it functions properly. Check the porous
loosened from a snug fit with the rail. Pivot the
suction plate for damage or injuries that may affect its
copyboard and transparency holder to determine if the
function.
axle and tube assembly binds or is difficult to move.
(12) Lubrication fittings.
Check the six
Inspect with thin feeler (0.0015 in. or 0.002 in.) between
lubricationfittings on the camera skid for looseness,
cop! board back and adjustable pads on base of
breaks, or other damage.
copyboard frames to ascertain if they contact uniformly
(13) Electrical system. Inspect all switches of
in both positions of the copyboard facing and away from
the camera for dismantling, damaged boxes, and loose
the lens).
wire connections. Check the wires and arc lamp cables
(4) Bellows assembly. Thoroughly inspect
for frayed or torn insulation. Examine all receptacles
the rubberized fabric for tears, cuts, or crack Check the
and cutout boxes for secure mounting.
end frames of the bellows for loose connections and
2-4


