TM 10-3610-203-14
(3)
Disconnect the humidifier supply line from the humidifier.
(4)
Loosen the receptacle access plate on the evaporator blower section cover so as to permit access to the
humidifier power input plug.
(5)
Disconnect the humidifier input power plug.
(6)
Remove the self-tapping screws which attach the humidifier assembly mounting flange to the air
conditioner unit and carefully remove the humidifier.
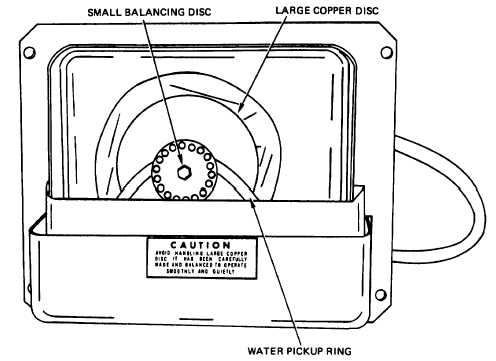
CAUTION
Do not handle the large copper disc (See fig. 4-17) at the rear of the unit as it has been carefully
made and balanced to provide smooth and quiet operation.
b.
Cleaning and Inspection. Clean and inspect the humidifier assembly as follows:
(1)
Remove humidifier front cover. Check for proper operation of inlet valve by raising and lowering valve
arm. If necessary adjust water inlet valve for correct opening by turning the knurled adjusting nut above the humidifier
float. (See fig. 4-16.)
CAUTION
Do not handle the large copper disc at the rear of the unit as it has been carefully made and
balanced to provide smooth and quiet operation.
(2)
Where local water may have a high mineral content, the user may experience a buildup of scale on some
surfaces of the humidifier due to repeated wetting and drying during operation. This scaling can be removed by cleaning
with household vinegar or a diluted solution of acetic acid (2 percent by volume). Perform carefully to avoid distortion of
large copper disc (see fig. 4-17). Rinse the humidifier thoroughly.
TS 3610-203-14/4-17
Figure 4-17. Humidifier Rear View.
4-37


