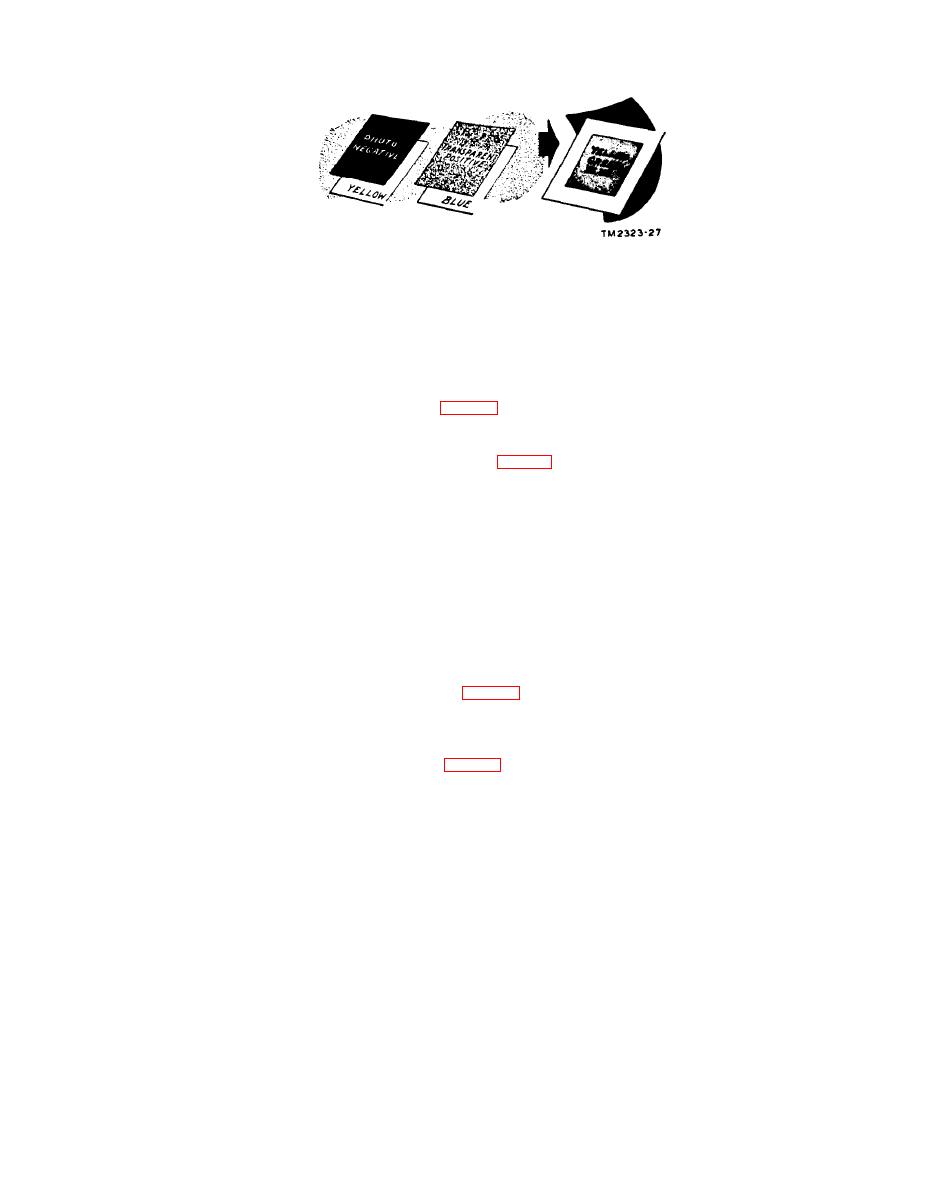
Figure 19
Preparation of three-color transparency from transparent positive
and negative.
d. Photographs.
(1) Obtain as many duplicate prints of the illustration as
required.
(2) Use white, opaque paint to delete from each photqgraph the
part not to be printed in the color intended for that portion.
(3) Prepare an autopositive, translucent master from each mod-
ified photograph (par. 29).
(4) Print each autopositive on a different color Ozalid foil, and
then superimpose the transparent prints in register.
e. Sepia Lithofoil Intermediates (fig. 20).
( 1) Prepare an autopositive paper or film master from the orig-
inal illustration.
(2) Use the master to make copies on Ozalid sepia lithofoil. T h e
Ozalid copies will serve as intermediate masters.
(3) Apply Ozalid Intermediate Corrector to those portions of
each sepia foil print not required in the color to be used for
t h a t p r i n t . Leave the corrector on the foil until the sepia
disappears from the treated areas (about 1 minute). T h e n
remove excess corrector with a blotter.
(4) Make an Ozalid transparency in the desired color from each
modified intermediate master, and superimpose the trans-
parencies in register.
poster-type illustrations can be duplicated in several colors on a single
transparency by the Bruning method.
( 1) Make a tracing of the original, or obtain a translucent master
by reflex printing (par. 29).
(2) Place the tracing or translucent master in contact with a sheet
of Burning Copyflex film, and insert them between two glass
plates. Then expose them to a strong source of light (sun-
light, sunlamps, or ultraviolet printer) so that the light passes
first through the master. Use test strips to determine correct
exposure time, if necessary.
33
TAGO 4738B


